Resin Injection or Polarity Inverter: What Are the Differences?
September 7, 2026
How to grow a construction business without changing trade
September 28, 2026Plasterboard on damp walls: what the plasterer checks before boarding
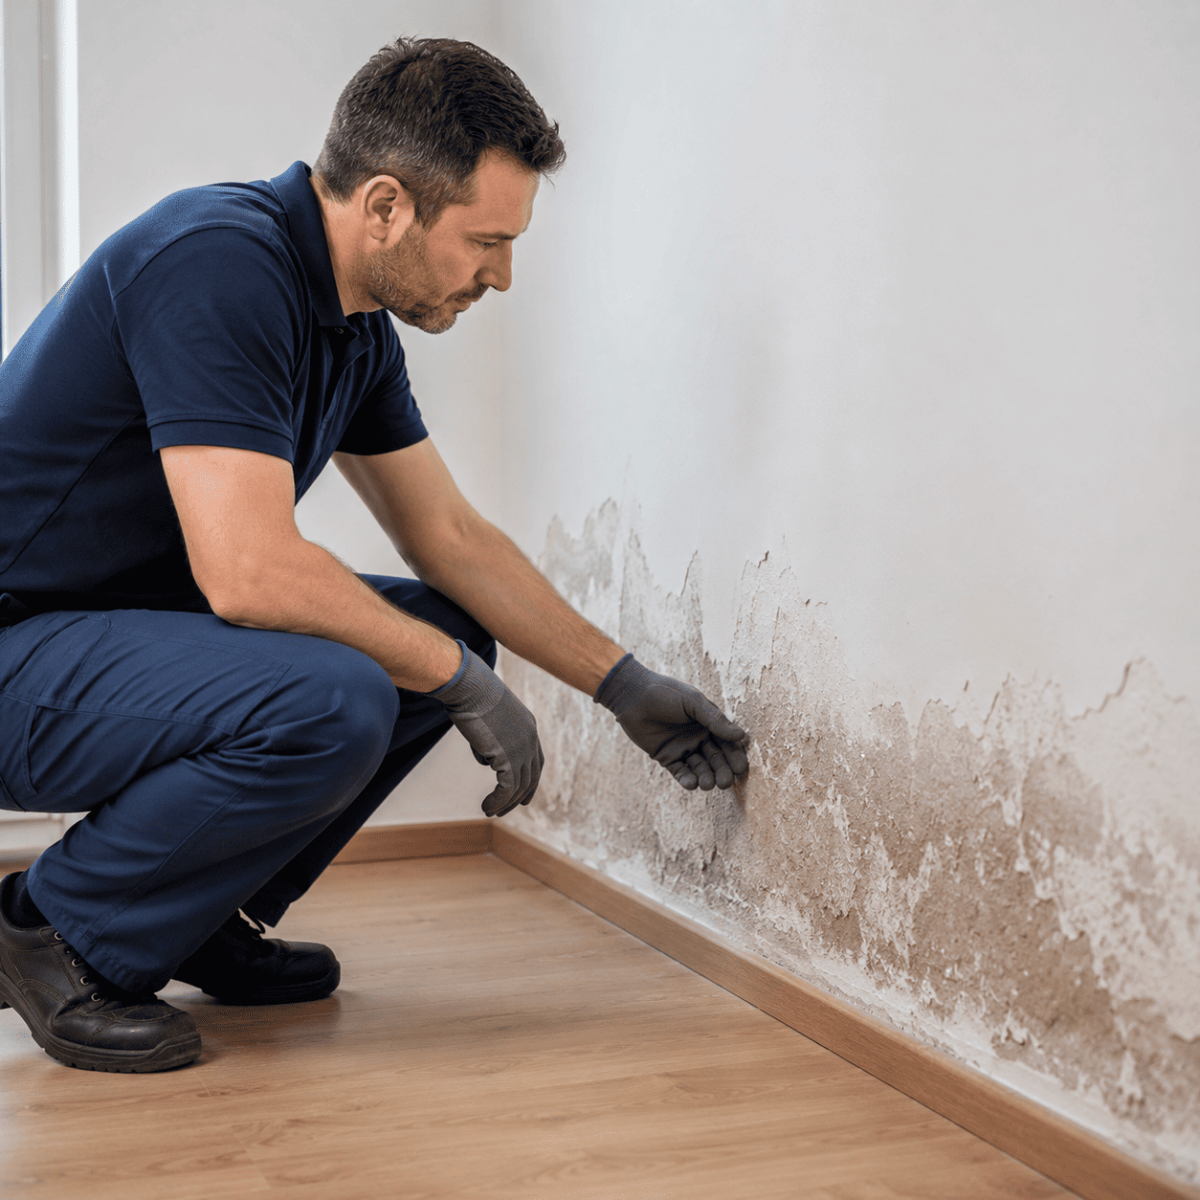
Fitting plasterboard on damp walls without dealing with the water rising from the ground just hides the problem behind a material that copes badly with it: the bottom of the boards softens, skirting swells, staining appears, and it’s the plasterer the client calls back. On a wall with rising damp, the right method is to open it up, treat the masonry with a polarity inverter, let it dry, and only then board it back up without sealing it airtight. You can sell and install this treatment yourself, as part of your own plastering job.
What you find when you strip out an old lining
On a renovation, you’re often the one who opens the wall first. Behind a lining glued onto damp masonry, the same picture turns up job after job:
- dark adhesive dabs, still damp to the touch;
- the back of the board stained, sometimes mouldy, even though the room-facing side looked fine;
- wet insulation at the bottom, dripping polystyrene or compressed mineral wool;
- rust on the bottom track or the frame fixings;
- white salts covering the whole lower section of the masonry.
On the room side, symptoms show up later: skirting that lifts away, joints that crack at the bottom, paper facing that bubbles. By the time they’re visible, the damage behind the lining is already done.
Why plasterboard on damp walls breaks down from the bottom
Plaster and paper can’t cope with water
A plasterboard sheet is gypsum sandwiched between two sheets of paper. Once wet, the plaster loses its strength and crumbles. The paper, an organic material, gives mould a good place to grow. No board is built to sit against a wall loaded with water.
A glued lining acts as a bridge
With a glued lining, every dab of adhesive mortar connects the damp masonry straight to the back of the board. Water follows that path, and the first stains usually show up right where the dabs are.
The wall can no longer dry on the room side
A wall affected by rising damp gets rid of its water by evaporating it at the surface. Once covered by an insulated lining or a sealed finish, it loses that outlet: moisture stays in the masonry and climbs higher. And wet insulation performs worse (damp wall treatment: paint, render or a wall drying device).
Moisture-resistant board doesn’t fix the cause
Green board copes better with a damp atmosphere, such as in a bathroom. It changes nothing about the water held in the wall: adhesive dabs, insulation and framing are still exposed. Fitting moisture-resistant board on a wall drawing up water protects the finish, not the wall.
What to check before quoting for the lining
Where is the water coming from?
A stain that starts at floor level, at a fairly even height, with salts, on load-bearing walls at ground floor, points to rising damp. Stains without salts across the full height of a cold wall, in corners or around windows, point more to condensation. A localised stain that grows after rain signals an infiltration. When in doubt: internal wall damp treatment: where to start.
Be clear with the client: the polarity inverter deals with water rising from the ground. Infiltration, flooding and surface mould are outside its scope; they’re fixed through waterproofing or ventilation.
Is the wall load-bearing?
The treatment applies to load-bearing walls, which sit on the foundations and draw water from the ground. A partition wall never serves as a mounting point for the device.
Is there a suitable socket near the damp area?
The electromagnetic model needs a grounded outlet, live day and night, that doesn’t depend on a switch. Locate it before quoting. If one has to be added, that job goes to an electrician.
Plasterboard on damp walls: the order of work on site
Step 1: open up the wall
Strip out the existing lining over the affected wall, at least at the bottom and across the whole area where the device will sit. That way you see the real state of the masonry and the exact height of the stain.
Step 2: fix the polarity inverter directly to the masonry
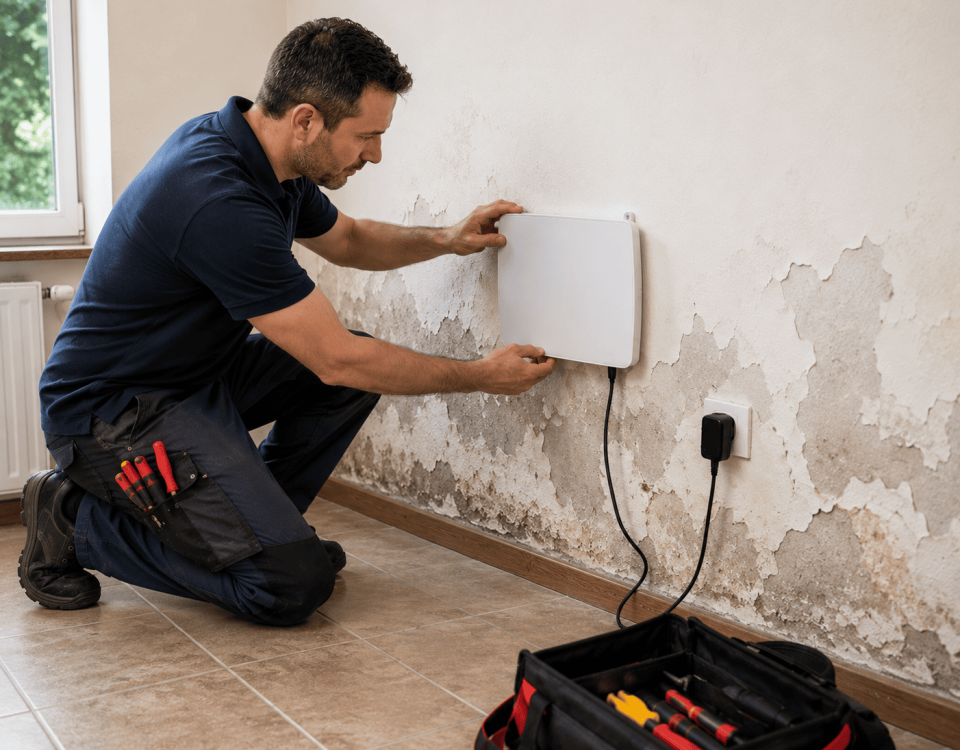
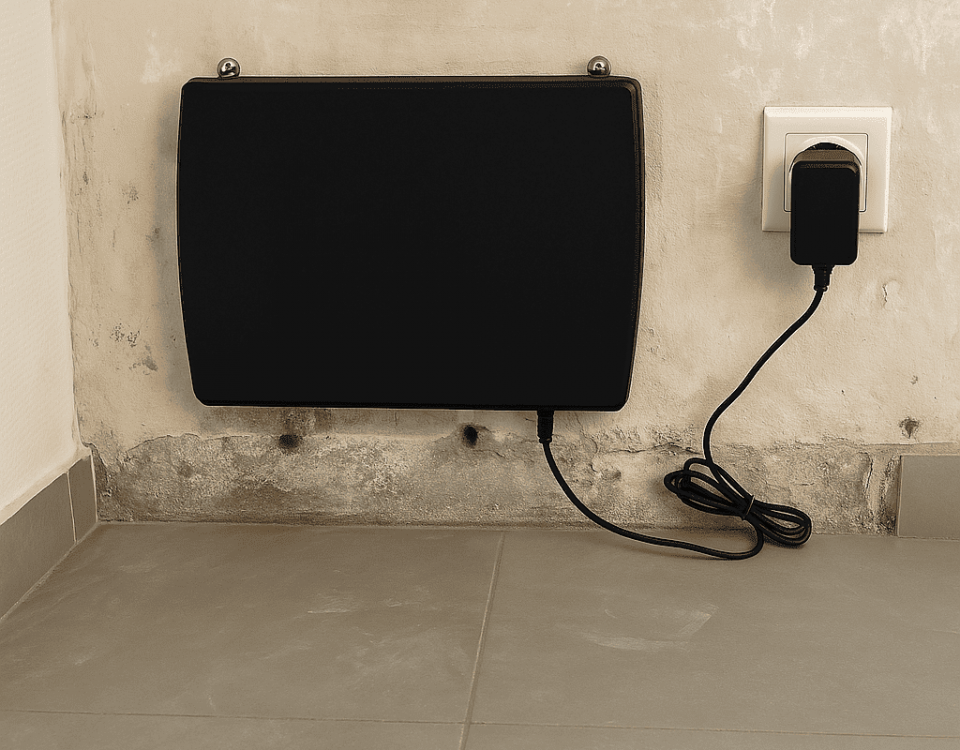
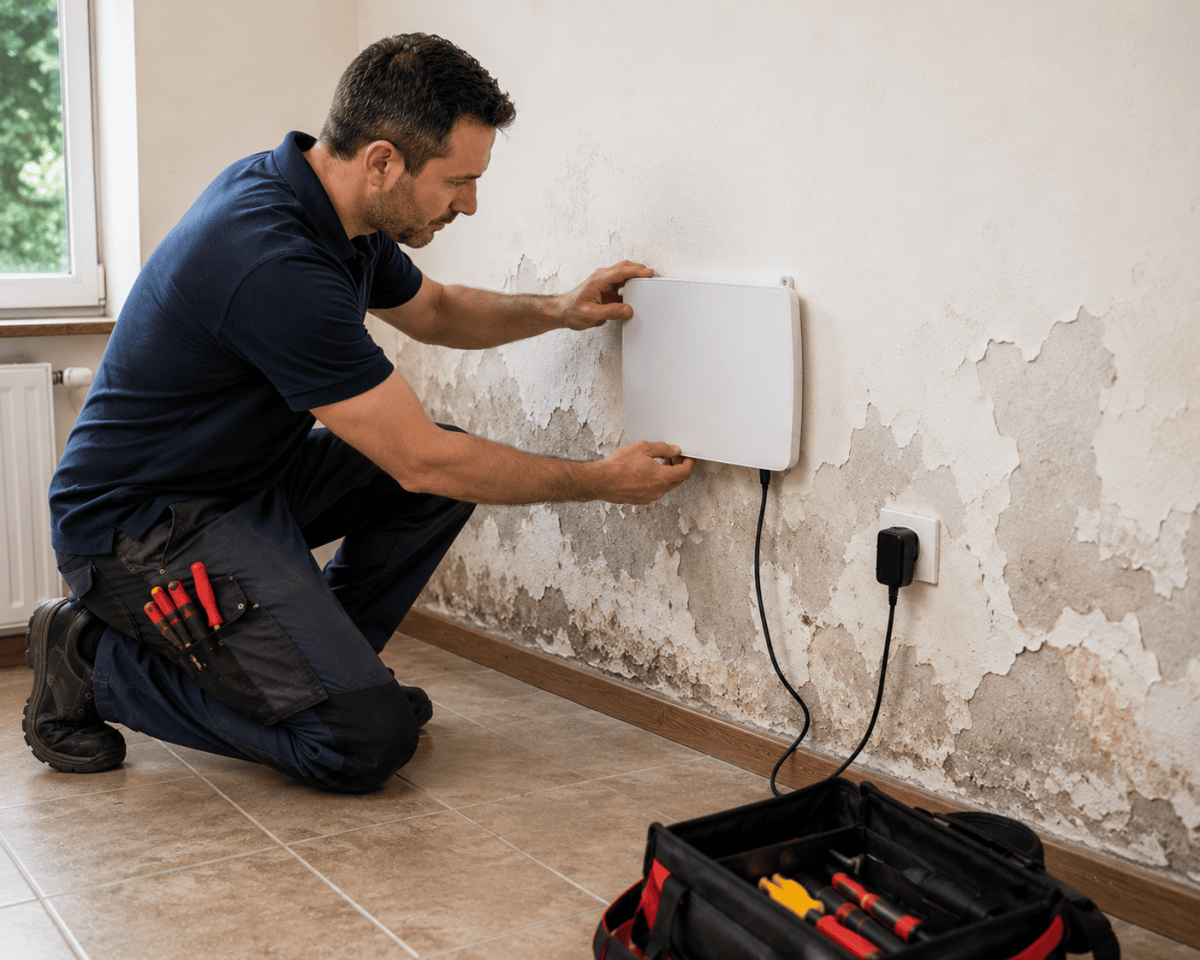
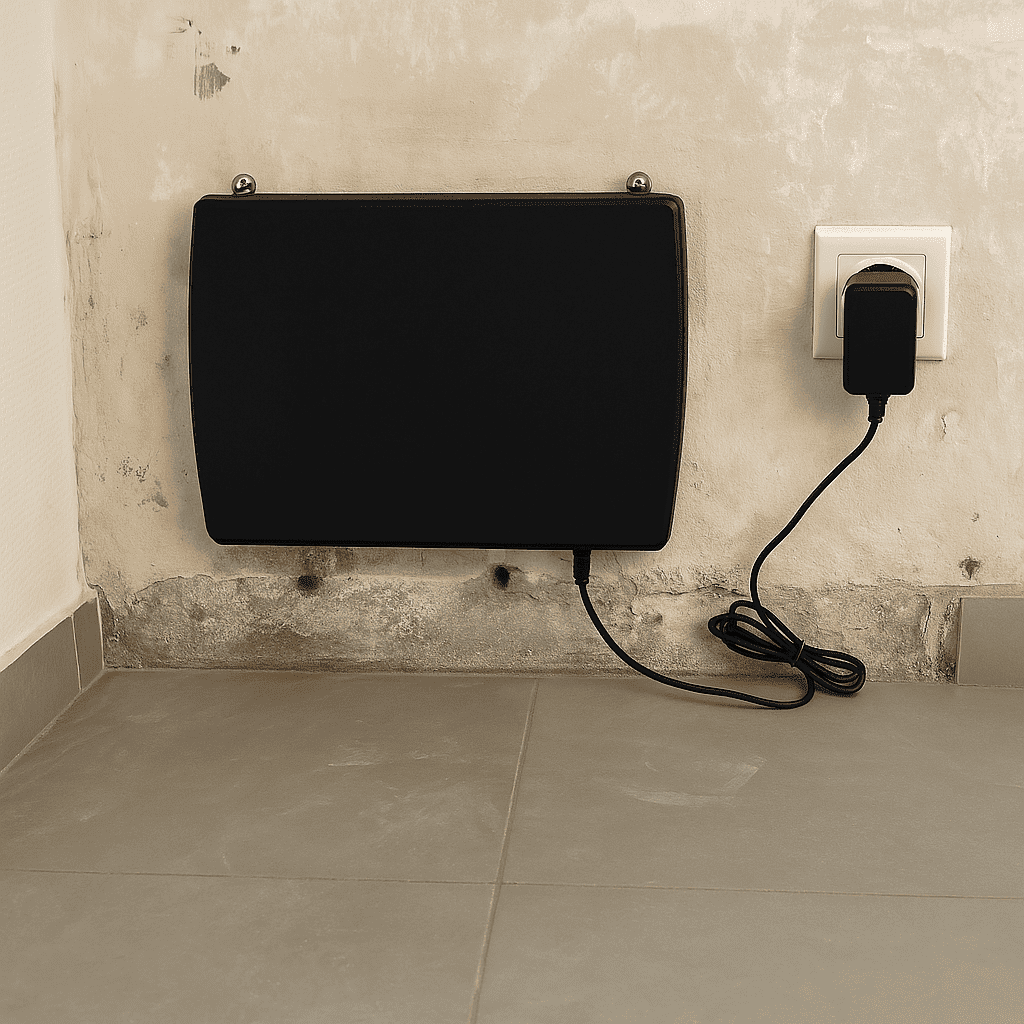
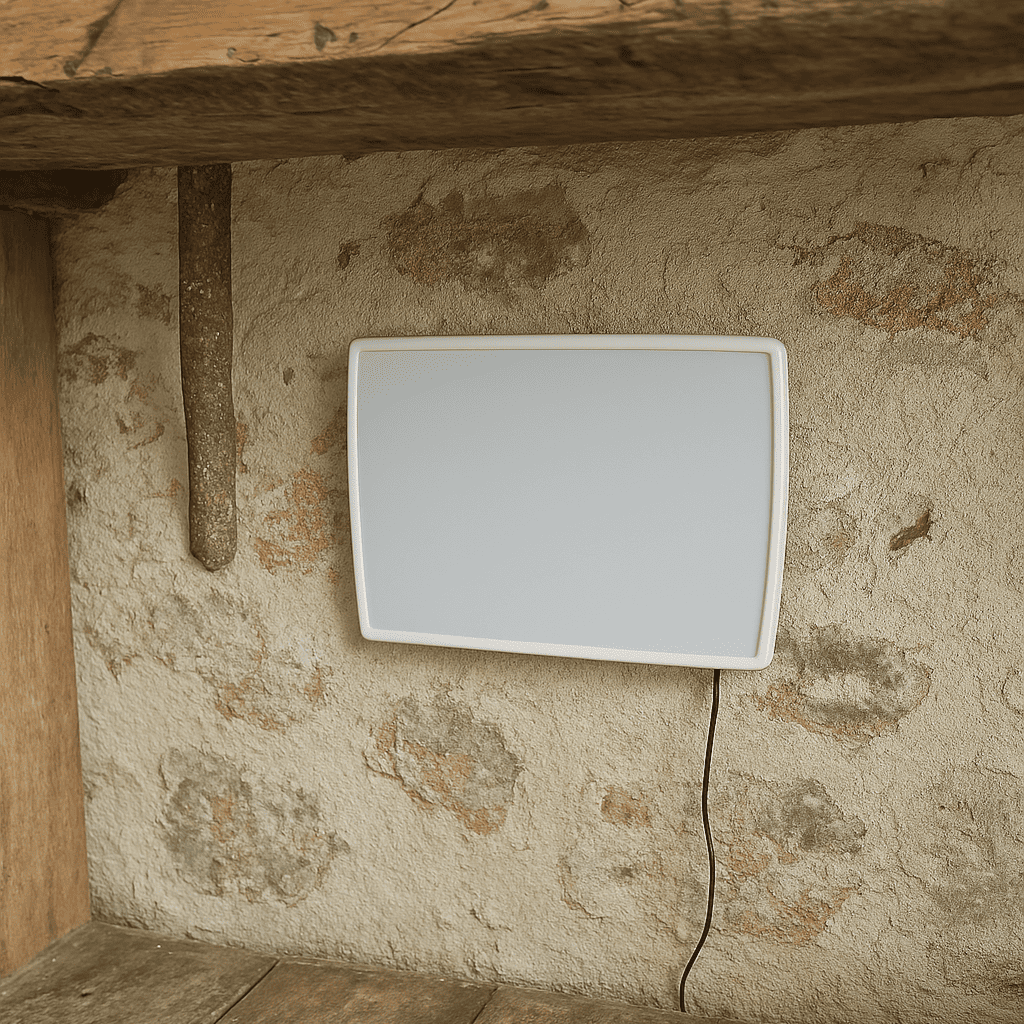
The device is fixed near the floor, on the load-bearing wall, facing the area where the stain is most marked; in a corner it would lose half its radius. It must touch the masonry directly: no board, no insulation, no lining in between. Fixing it takes a few minutes, with no drilling and no chasing. The right model depends on the distance from the device to the furthest damp point, compared with the radius, which is half the diameter of coverage:
- the ATE LC15 covers a 15-metre diameter;
- the ATE LC30, like its newer version the ATE Pulse, covers a 30-metre diameter: the standard device for a single-family home;
- the ATE MAX, with its 60-metre diameter, is for apartment blocks, older buildings and commercial premises.
Without a suitable socket, an ATG does the same job with no electricity. Before your first job, run through the positioning mistakes covered in Help Humidité Pro’s installation guide.
Step 3: sort out outside water sources
A cracked gutter, a downpipe emptying against the wall, a blocked drain, ground sloping towards the house: each of these adds water to the rising damp. Point them out to the client and refer them to the right trade.
Step 4: leave the wall bare
Leave the masonry uncovered for several months before closing it back up. Salts migrate to the surface as the wall dries: a wall that’s improving can look whiter for a while. For tracking progress, a dated pencil mark at the highest point reached by the damp does the job.
Step 5: board it back up while letting the masonry breathe
When closing up, don’t recreate the trap: use a frame held clear of the wall, with an air gap, rather than a glued lining; leave a gap at the foot of the board and leave the device’s mounting area unlined. Allow 18 to 24 months on average before an improvement is visible, a timeframe that depends on the starting water level and the thickness of the masonry (wall drying time: what should you expect).
Quoting for the treatment as part of your job
You’re on site, the wall is open, and it’s your lining the client will judge. Supplying the treatment yourself avoids subcontracting and protects your own work. On the quote, split the treatment out as its own lines:
- the polarity inverter supplied and fitted, with reference and coverage diameter stated;
- removal and disposal of the old lining;
- new lining on a frame, scheduled as a second visit;
- useful notes: an 18-to-24-month timeframe, a socket that’s never switched off, a 10-year manufacturer’s warranty, and the treatment’s limits.
Warn the client before they sign that the mounting area will stay unlined: better to raise it at the quote stage than on site.
Stocking up with Help Humidité Pro
A subsidiary of Humidistop, Help Humidité Pro only sells to businesses. On the Shop tab, you enter your company details, including your company’s official registration number: signing up takes two minutes, with no paperwork and no waiting, and your trade prices show up straight away.
- no minimum order: one device for your first job, quantity discounts after that;
- free delivery within 7 working days, enough to schedule the fitting between removal and lining;
- payment by bank transfer or PayPal;
- explanatory sheets and illustrations to back up your quote, plus an installation note on every product page;
- devices made in Castres, in Occitania, with a 10-year manufacturer’s warranty;
- no franchise, no set term, no protected territory.
Frequently asked questions
Can you board a wall that’s drawing up water?
Not until the rising damp is treated: adhesive dabs pass the water straight to the board, and the wall no longer dries on the room side. Treat the cause first, leave the wall bare for several months, then use a framed lining with an air gap.
Is moisture-resistant board enough on a damp wall?
No. It copes better with a damp atmosphere, but the water stays in the masonry. It’s a tougher board, not a treatment for the wall.
Can the device be fixed to the lining?
No. It has to be fixed straight onto the load-bearing masonry. A board or insulation between the device and the wall ruins the result: strip the lining back in the mounting area.
How do I order as a plasterer?
Sign-up happens online at the Help Humidité Pro shop. A registered plastering business has access, and the first order can be for a single device.
In summary
Plasterboard on damp walls only lasts if the water in the masonry is treated first. Open the wall, fix the polarity inverter straight onto the load-bearing wall, get outside water sources sorted, let it dry for several months, then board it back up on a frame while keeping the mounting area unlined. Warn the client about the timeframe and what the device doesn’t treat. To turn this job into a real growth opportunity: how to grow a construction business without changing trade.