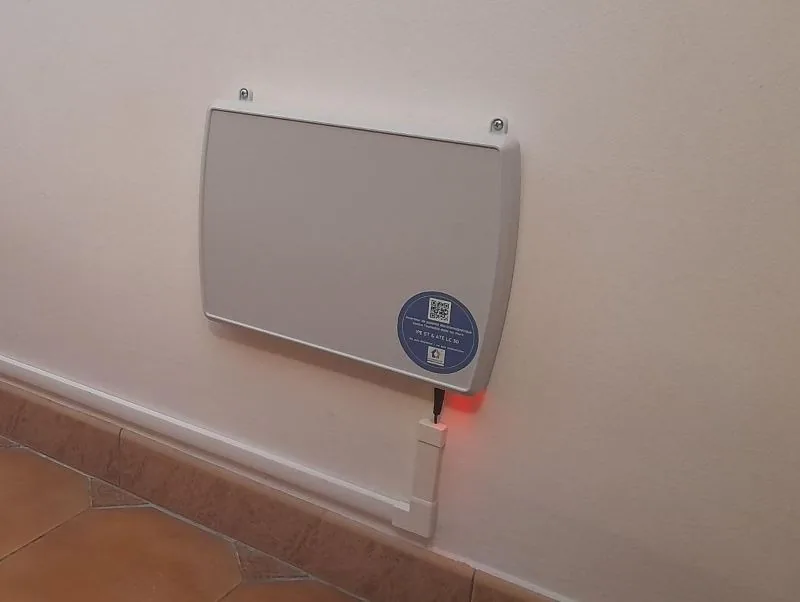
An ATE beside a doorway at the Saint-Paul dojo
November 18, 2026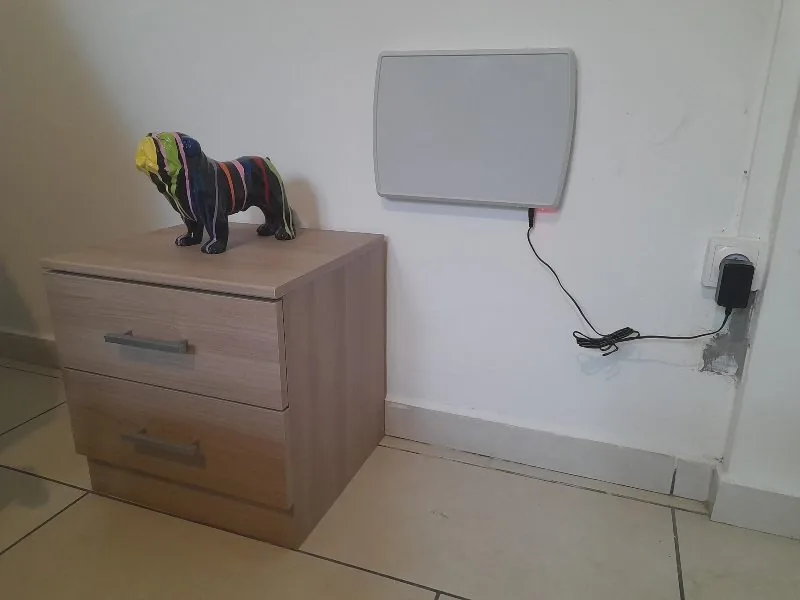
Saint-Gilles-les-Hauts: an ATE installed beside a chest of drawers
November 18, 2026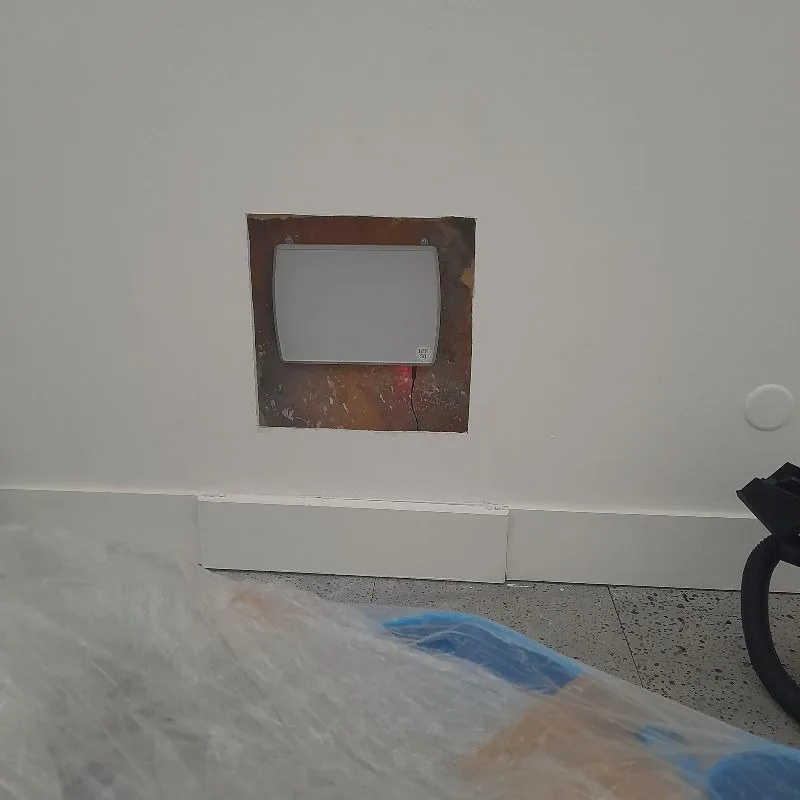
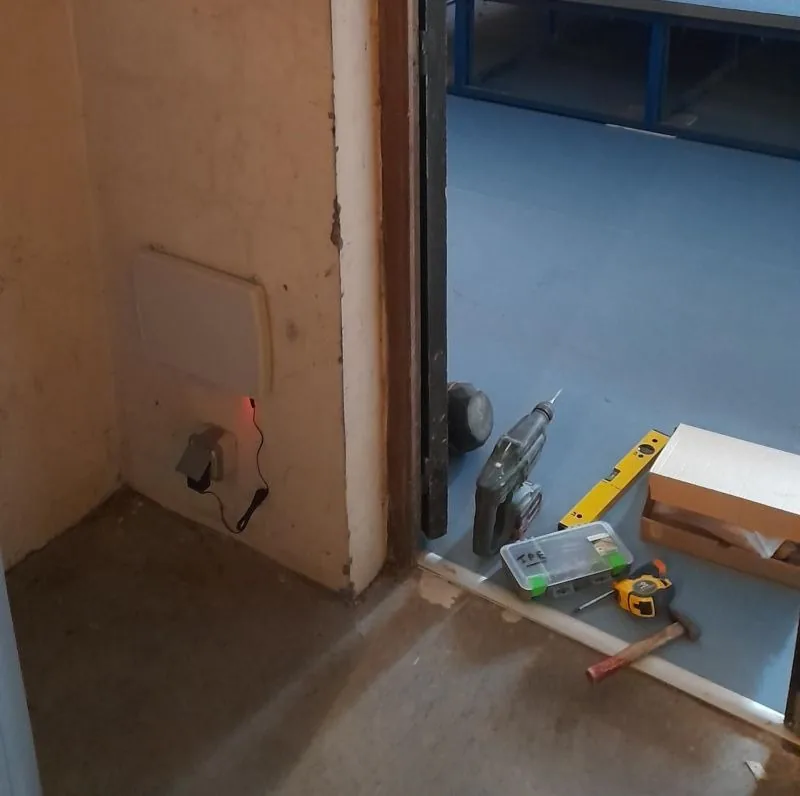
At the Saint-Pierre art centre, the ATE is fixed to a wall with unfinished surfaces around it. Protective covering in the room places the photo during renovation. This example helps distinguish device installation from restoring the wall finish.
A guide to the names used in our references: STOP ONE corresponds to the ATE family of mains-powered electromagnetic polarity inverters. GEOSTOP corresponds to the ATG family of geomagnetic polarity inverters without an electrical connection. Specifications and installation instructions remain specific to each model.
Choose the position before drilling
Installation without a line of chemical injections still requires suitable wall fixings. Choose the exact model and coverage for the building, mark the affected walls on a plan and follow the instructions supplied with the device. Check the wall type, installation height and clearances from other equipment. For the ATE LC range, the documentation specifies a load-bearing wall and continuous mains power. A customer photo does not independently verify every clearance.
Quick installation and gradual wall drying are different stages
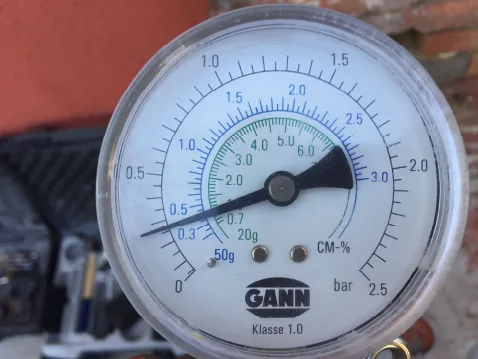
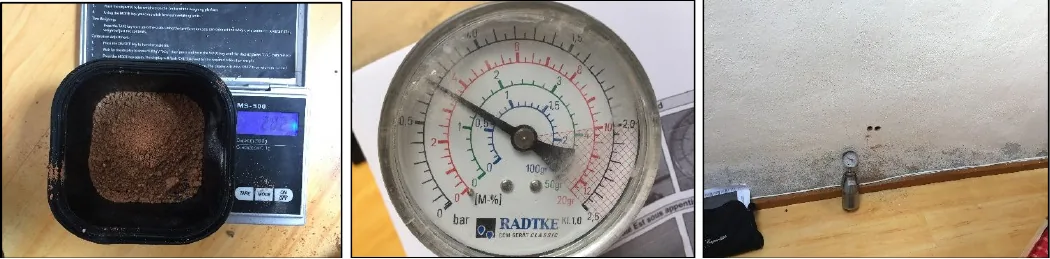
No timed record was supplied for this installation, so no precise installation duration is claimed. The photo documents the installed unit and wiring; it is neither a moisture measurement nor a before-and-after comparison. Identify the cause of the damp and deal separately with leaks, water ingress and condensation. Prepare finishing work according to the actual condition of the substrate and any salts.
Planning a similar installation?
Gather a floor plan and dated photographs of the affected walls. Humidistop can help you check the device reference, coverage and installation conditions. Keep the installation instructions with the equipment and follow the drying process over time.