ATG on a shelf: understanding a customer installation
November 18, 2026
Installing an ATE in Le Tampon: a customer shares their setup
November 18, 2026ATE in Saint-Denis: a customer photo makes installation tangible
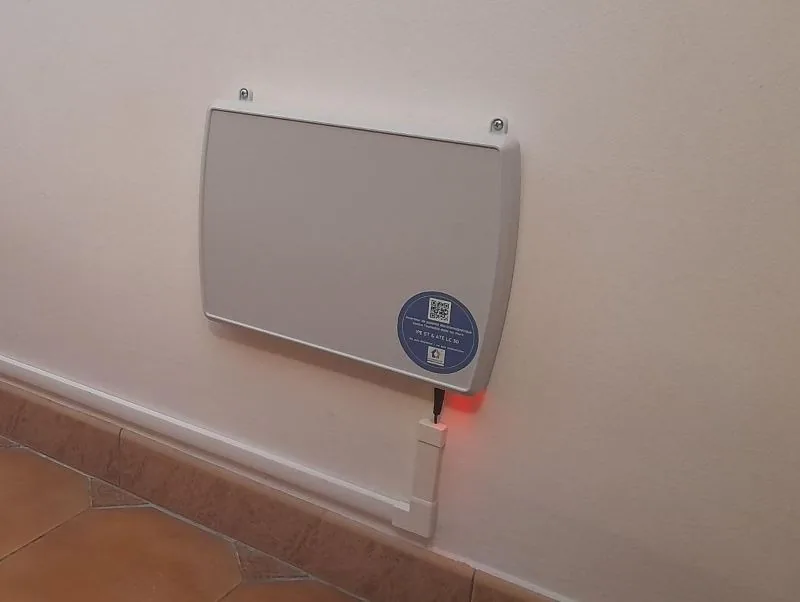
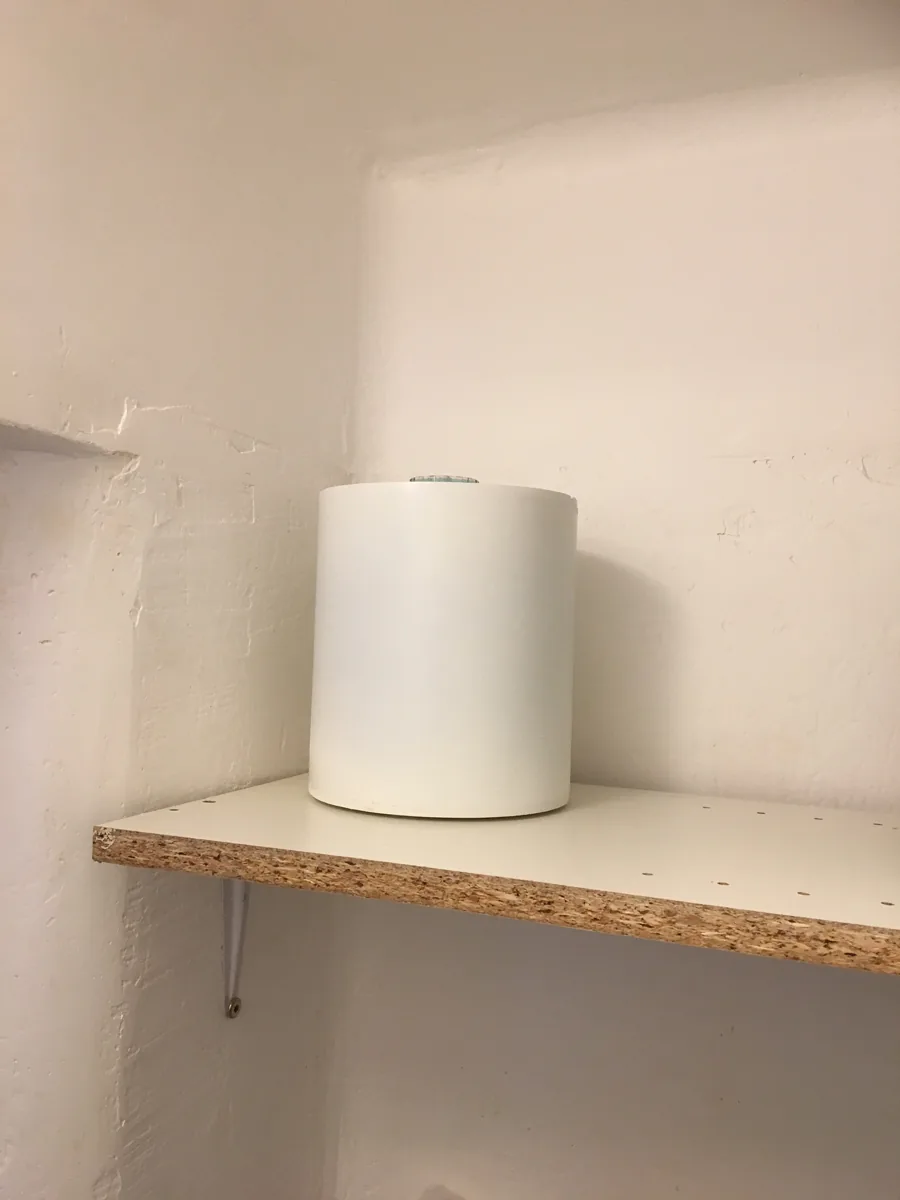
Before choosing an ATE, what can an installation in a real home show? This customer photo from Saint-Denis, Réunion, makes the wall fixings and tidy cable route easy to picture.
A guide to the names used in our references: STOP ONE corresponds to the ATE family of mains-powered electromagnetic polarity inverters. GEOSTOP corresponds to the ATG family of geomagnetic polarity inverters without an electrical connection. Specifications and installation instructions remain specific to each model.
Three details make the installation easy to understand
The housing hangs from its fixing points. Its cord runs down from the unit and follows a protected route. A red indicator is visible in this photograph. These details illustrate the practical sequence: prepare the position, secure the device and connect the power supply specified for that reference.
Choose the position before drilling
Installation without a line of chemical injections still requires suitable wall fixings. Choose the exact model and coverage for the building, mark the affected walls on a plan and follow the instructions supplied with the device. Check the wall type, installation height and clearances from other equipment. For the ATE LC range, the documentation specifies a load-bearing wall and continuous mains power. A customer photo does not independently verify every clearance.
Quick installation and gradual wall drying are different stages
No timed record was supplied for this installation, so no precise installation duration is claimed. The photo documents the installed unit and wiring; it is neither a moisture measurement nor a before-and-after comparison. Identify the cause of the damp and deal separately with leaks, water ingress and condensation. Prepare finishing work according to the actual condition of the substrate and any salts.
Planning a similar installation?
Gather a floor plan and dated photographs of the affected walls. Humidistop can help you check the device reference, coverage and installation conditions. Keep the installation instructions with the equipment and follow the drying process over time.
Source
Customer photograph supplied to Humidistop, installation in Saint-Denis. Technical guidance: the ATE LC installation instructions supplied by Humidistop.