Home 06: carbide checks in an older brick-built house
November 18, 2026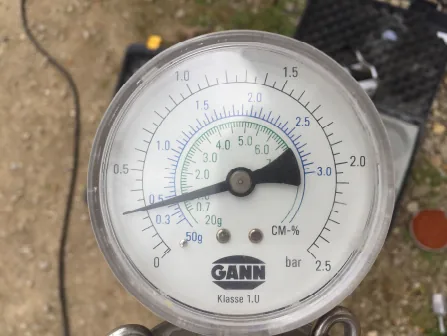
Home 04: two facade sampling points followed over time
November 18, 2026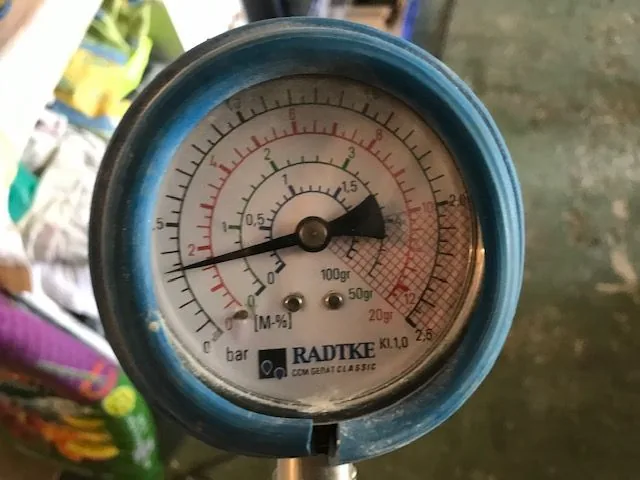
This private-home reference is presented under an anonymous number. The owner’s name and address are not published. It shows how a household installation can be documented through the records actually available, alongside the public-building references on this blog.
The installation is dated 3 May 2018 and the inspection 21 July 2020.
Readings and sampling conditions
| Sampling point | Initial record | Follow-up record |
|---|---|---|
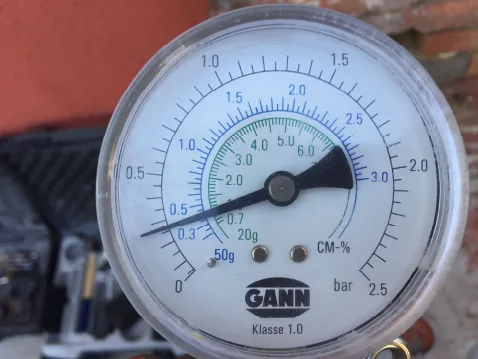
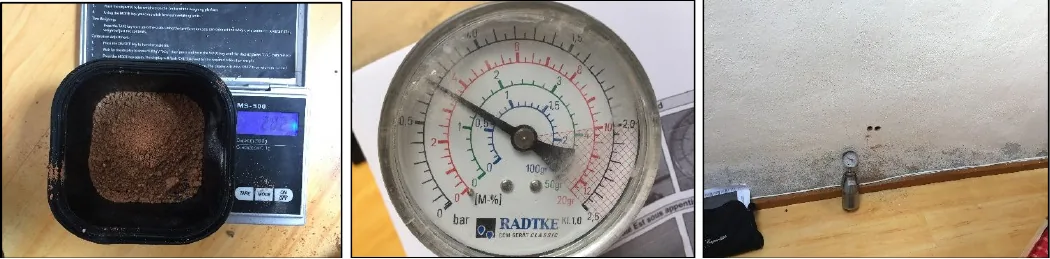
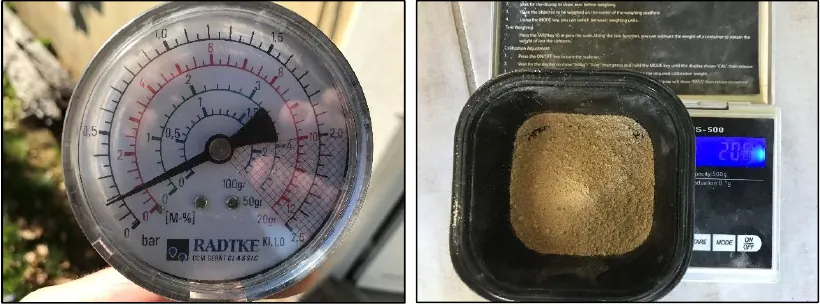
| Compared wall, stone and brick | 5 gr | 1.7 gr |
| Dining room, stone and brick | Not available | 1.6 gr |
| Entrance, stone and brick | Not available | 1.7 gr |
All three tables refer to 20 g samples. The compared point is recorded at 40 cm above the floor and 15 cm deep. The additional dining-room and entrance samples are recorded at 30 cm high and 15 cm deep. They have no corresponding initial readings and are follow-up observations only.
What was observed on site
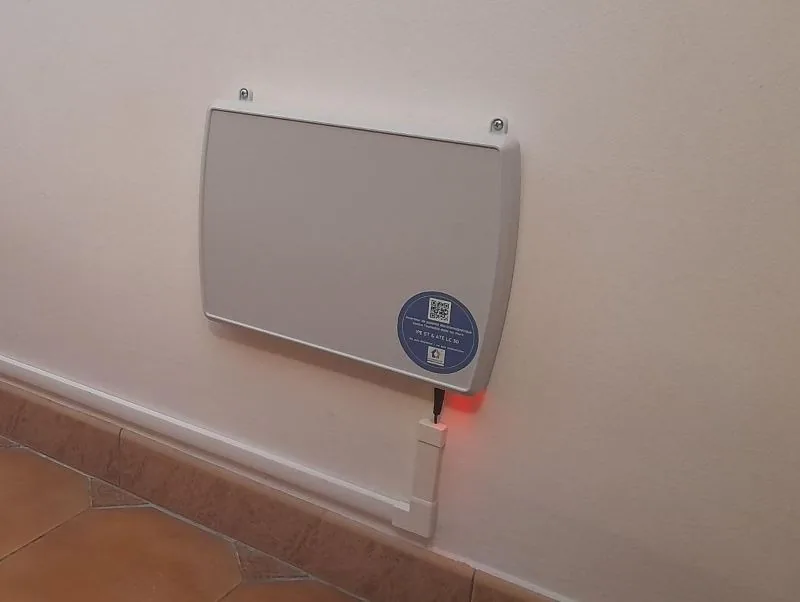
The supplementary document identifies a GEOSTOP 20. Its assessment describes dry walls and a substantial fall at the compared point after 26 months, while its concluding paragraph still describes walls and floors as drying. These are the report’s own formulations; three measurements do not establish that the entire house is dry.
From this reference to your own building
Start with the cause of the damp. Marks near the floor, salts and damaged finishes need to be considered together with the construction and the history of water entry. A leaking pipe, rainwater penetration and condensation require their own investigation. Send a plan and dated photographs, and describe the wall materials and the affected areas. These details help relate a device’s stated coverage to its intended position.
How do I use this report when choosing a device?
Use it as a record of this building and these inspections. Keep the original units and sampling conditions with the figures. A renovation photograph shows the appearance of a surface; it does not measure its water content. Do not infer an overall reduction from samples whose mass, depth or height changed.
Which Humidistop range should I compare?
ATE devices are electromagnetic and use mains electricity. ATG devices are geomagnetic and operate without a mains connection. Check the exact specification and installation instructions for the chosen reference. The model used on a historical site and a product currently offered for sale must remain clearly identified. The result observed in one building does not guarantee the result in another.
Can I repaint immediately after installation?
Plan the finishing work from the actual condition of the wall, suitable materials and any salts present. Allow the drying to be followed over time and address other water sources. A calendar date alone does not establish that a substrate is ready for a new coating.
Read other documented Humidistop references
Source: anonymised Humidistop site report supplied for this case. The wording of the conclusions is attributed to the report; the readings are kept with their sampling conditions.