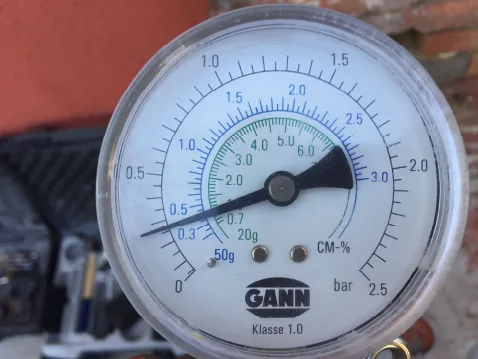
Home 01: two walls monitored before renovation
November 18, 2026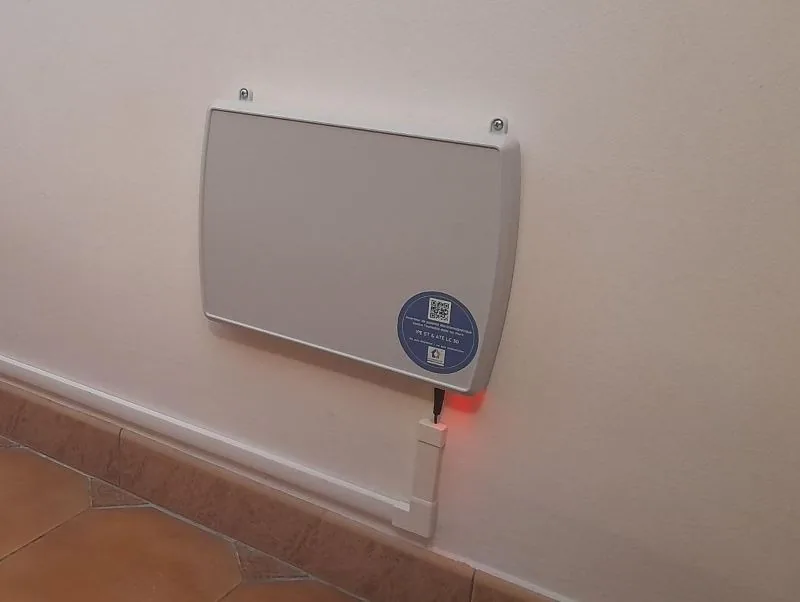
ATE in Saint-Denis: a customer photo makes installation tangible
November 18, 2026ATG on a shelf: understanding a customer installation
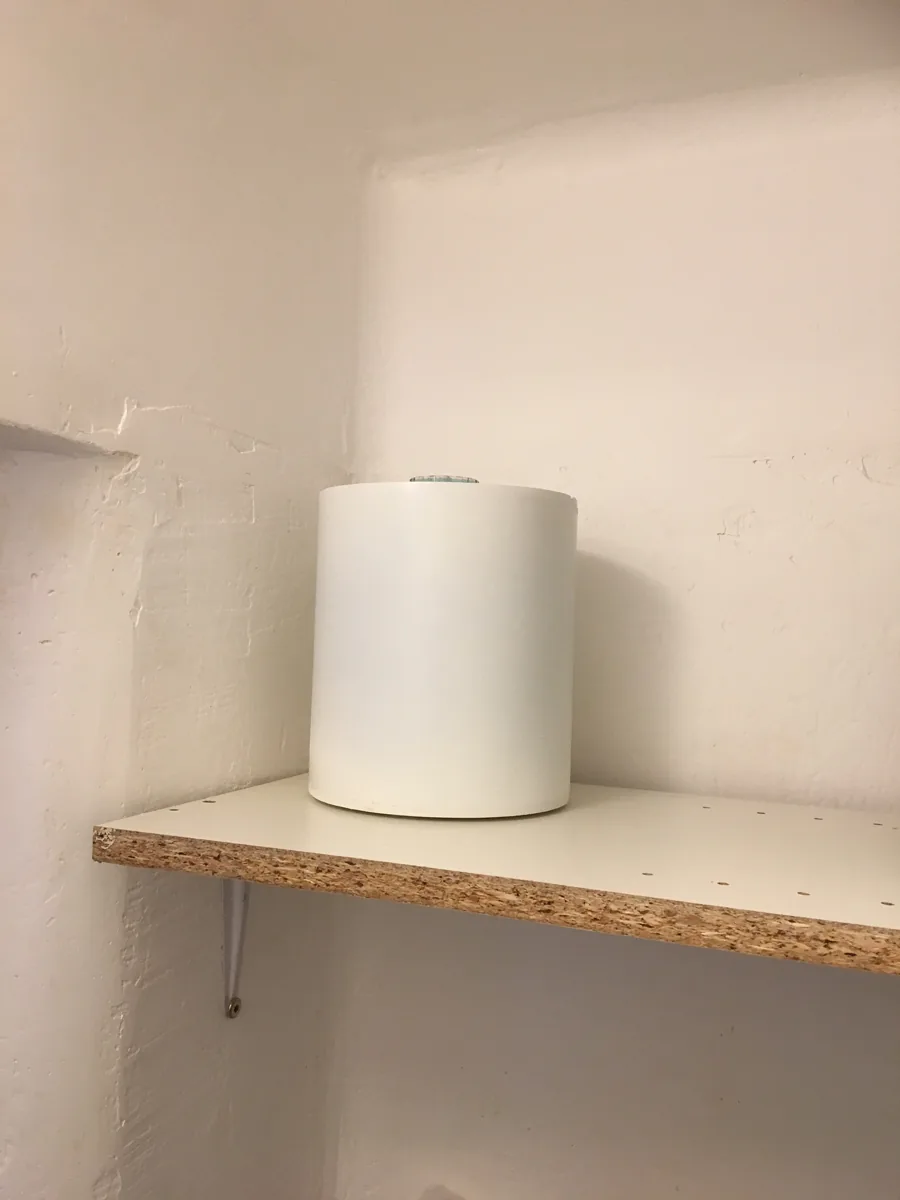
Before choosing an ATG, consider the space and support it needs. In this customer photo, a small corner shelf holds the white unit without a mains lead connected to it.
A guide to the names used in our references: STOP ONE corresponds to the ATE family of mains-powered electromagnetic polarity inverters. GEOSTOP corresponds to the ATG family of geomagnetic polarity inverters without an electrical connection. Specifications and installation instructions remain specific to each model.
A discreet installation shown by the customer
The device rests on a shelf secured to the wall with a bracket. The photograph supplied to Humidistop documents the unit and its surroundings. No private name or address is published. The simple support is easy to understand, and there is no electrical connection for the ATG itself. Fixing the support remains a practical installation task: assess the wall, the load and the instructions for the device received.
Choose the position before choosing a spare shelf
Prepare the installation using the instructions for the exact model. Locate the affected walls, check the stated coverage and confirm placement requirements before fixing a shelf or positioning the unit. A photograph of another installation does not approve a new location. Keep the device documentation and follow its placement guidance. Check the applicable instructions before moving the unit later.
Accessible installation, with follow-up to organise
This reference illustrates installation by a customer. No timed record or associated moisture readings were provided. The photo is not a before-and-after comparison or a measurement of wall drying. Keep dated photographs and any available readings together with their location and method. Leaks, water ingress and condensation need their own interventions. Plan finishes according to the actual substrate condition and remaining salts.
Prepare an ATG project
A plan, photographs and a description of the affected areas help you examine the reference and coverage before installation. Humidistop can help you prepare and find the appropriate instructions. Source: customer photo supplied to Humidistop; no numerical drying result accompanies it.